For over 20 years, cities and agencies have trusted Carmanah to provide them with safe, efficient and sustainable transportation solutions. Our beacon and signs have set the industry standard for high-performance and low-power systems that are durable and easy to install.
Carmanah’s MX Series builds on that foundation to provide cities a better way to monitor, control and gather data from traffic safety systems. And getting your system installed and reporting into the cloud is even easier with MX.
Click play below to watch.
Transcript
For over 20 years, cities and agencies have trusted Carmanah to provide them with safe, efficient and sustainable transportation solutions. Our beacon and signs have set the industry standard for high-performance and low-power systems, that are durable and easy to install.
Carmanah’s MX Series builds on that foundation to now provide cities with a better way to monitor, control, and gather data from traffic safety systems. And getting your system installed and reporting into the cloud is even easier with MX.
Connectivity doesn’t have to be complicated. In this video we’ll show how MX removes the complexity from the equation.
With MX, connectivity isn’t an afterthought or an add-on; it’s an integral part of each system, baked into its unique design. This means every MX system leaves the factory pre-tested with operation-ready local and remote connectivity.
From the moment it receives power on-site, it creates a self-forming network, communicating both locally to Carmanah’s MX Field App, remotely to Carmanah’s MX Cloud. Even the individual components, or MX smart modules, join the network to provide additional data and configurability – but more on that later.
A system is made up of MX modules, which are like model building blocks. These smart modules can be stacked together, added at a later date, or swapped out – without needing any reconfiguration of a central controller.
Hi, I’m James, Product Technologist at Carmanah Technologies. We’ll be walking through the installation of a circular flashing beacon system to show how MX’s out-of-the-box connectivity works and just how simple installation is.
For many connected beacon systems on the market today, connectivity can be very complicated and costly to install, and cities have been slow to adopt connected solutions as a result. MX changes that.
Unlike other products, MX systems are comprised of “smart” modules, that are intelligent enough to communicate with each other to identify new modules or potential problems, while simple enough to be wired using traditional harnessing and terminals. All modules share the same 4-connector terminals to simplify wiring, allowing them to be mixed and matched to suit any project need.
The three main components needed to install any MX system are
- One power module, which provides power to all connected modules as well as other key system functionality. Four power module options are available, which can be configured and solar-sized using our online MX build tools to ensure long-term, reliable operation.
- One or more flasher modules, which, once they receive power from the power module, automatically flash according to default settings compliant to FHWA MUTCD recommendations. They can also be programmed to flash with a schedule via the MX Field App and MX Cloud.
- And one or more kits, which include various mounting kits for the power and flasher modules, push buttons for crosswalk applications and other optional accessories.
The steps to install an MX system are virtually identical to our previous generations of flashing beacon systems, and are just as streamlined – so you get the added bonus on connectivity without having to do any additional work.
STEP 1: Power Module
Starting with the MX 100 Solar Power Module and its Top of Pole / Side of Pole mounting kit, we’ll prep the module and mount on the ground, then secure it to the pole.
STEP 2: Flasher Module(s)
Next, we’ll prepare and install the MX Beacon Module and MX Beacon Arm Mount Kit, connecting all harnessing and feeding it through the pole towards the power module.
STEP 3: Kits
Now, we’ll install any kits we’ve configured for our system. 24-hour and school zone applications don’t typically have any additional kits besides the power and flasher module mount kits. However, if this was a crosswalk system, this is where we would install a push button kit for pedestrian activation.
STEP 4: Power Up
To complete the physical setup, we’ll just install the batteries and connect the battery and solar panel harnesses into their appropriate, specially labeled connectors.
The MX system will power up and immediately form its own network, broadcasting both locally to the MX Field App and remotely to the MX Cloud. No separate process is needed to install any remote connectivity hardware. It’s that simple: just power up and boom, you’re reporting into the cloud.
Each system will automatically start flashing with default settings compliant to FHWA MUTCD recommendations. For MX Beacon Modules like we have here, it will flash for 24 hours a day with a half-second-on, half-second-off flash pattern at the MUTCD-recommended intensity.
If this was a 24-hour warning application, we’d be done.
If this was a school zone application, it couldn’t be easier to program a calendar schedule and complete the install using the MX Field App.
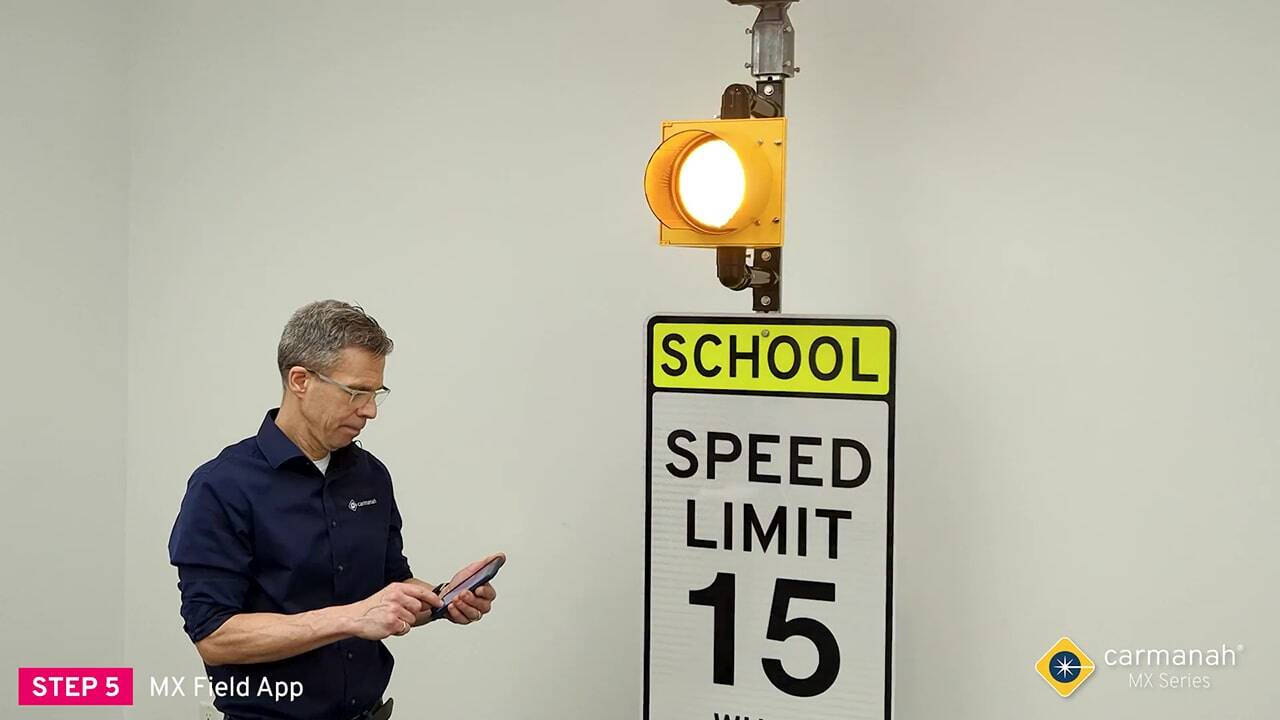
STEP 5: MX Field App
With our MX Field App in hand, we simply pair to the MX system following the instructions provided on the Power Module Interface label inside the lid. The pairing gives us a temporary digital key which will be saved in the App for quick, drive-by settings adjustments and maintenance.
Once we’re connected with the MX Field App, we can check the system’s current status, link it with another nearby system to synchronize flash timings and settings, update the system name or the firmware, and more.
To complete our school zone beacon setup, we’ll program a calendar schedule, either creating a new schedule right here or using one of our saved schedules. And the MX system will begin operating according to that calendar.
We can also log into MX Cloud to access our system remotely. From the cloud, we can monitor its health status, adjust the calendar schedule, receive alerts if something goes wrong, and much more.
Our MX system is now installed and ready to increase safety!
When it comes to increasing driver and pedestrian safety and calming traffic, we’re setting the new standard for safety infrastructure.